You’ve noticed water dripping from your gutter during a rainstorm, and it’s clear there’s a leak that needs fixing. Start by grabbing a ladder and inspecting the entire length for cracks, holes, or rust spots. Don’t ignore even small issues—they can worsen fast. But how do you tackle the repair, and when should you step back? Stick around to reveal the practical steps and critical signs for professional help.
Assessing the Damage to Your Gutter
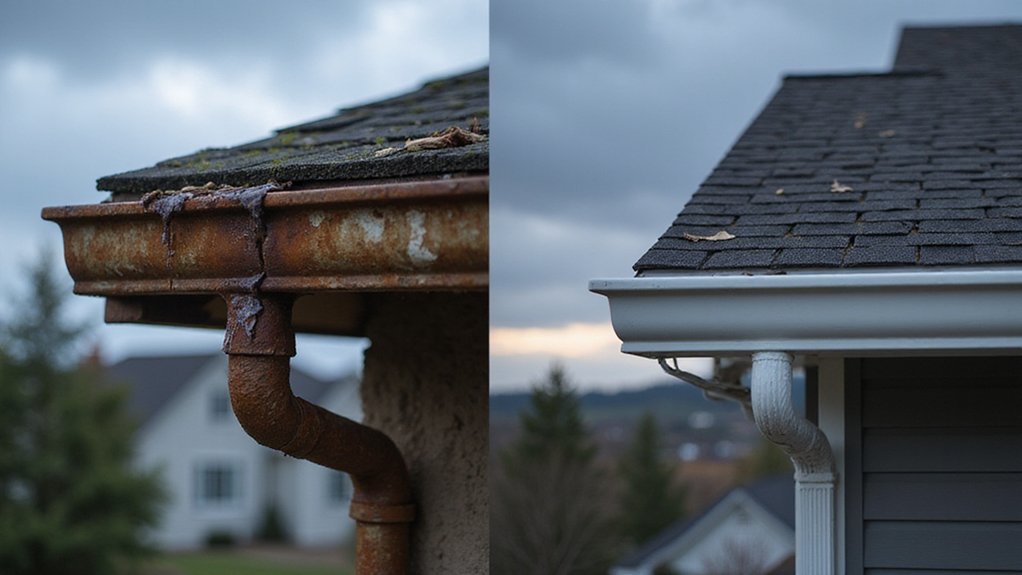
Before you grab your tools, take a close look at your gutter to pinpoint the damage. Start by identifying gutter damage types—look for cracks, holes, or rust spots along the length. Check for sagging sections or leaks at seams where water drips ceaselessly. Visible cracks or holes compromise gutter performance, so address these issues promptly. Next, spend time inspecting gutter attachment points; guarantee brackets and hangers aren’t loose or detached from the fascia. Traverse the perimeter with your crew or solo, noting every flaw. You’re part of a community that values a sturdy home, so tackle this with sharp eyes and resolve to protect your space.
Gathering the Necessary Tools and Materials
Once you’ve assessed the damage, gather the tools and materials needed to patch your leaky gutter effectively. Start by identifying gutter materials—know if yours are aluminum, vinyl, or steel, as this determines the right sealant or patch kit. Grab a ladder, gloves, a putty knife, and a wire brush for prep. High-quality materials are crucial to ensure long-lasting results, as highlighted in the gutter repair solutions. Don’t forget gutter sealant or patches specific to your material. For securing gutter attachments, keep screws, rivets, or brackets handy to reinforce loose sections. With these in hand, you’re part of the DIY crew, ready to tackle this fix with confidence and skill.
Cleaning the Affected Area for Repair
Start by thoroughly cleaning the damaged section of your gutter to guarantee a solid repair. Grab a sturdy ladder, gloves, and a garden trowel to scoop out debris like leaves and dirt that can trap moisture. Rinse the area with a hose to clear any residue, ensuring the surface is pristine for the next steps.
While you’re up there, spend a moment inspecting drainage patterns to spot any blockages causing water buildup. Also, don’t skip examining gutter alignment; misaligned sections can worsen leaks. A clean, well-checked gutter is your first step to a lasting fix with your DIY crew.
Applying a Temporary Fix for Small Leaks
How can you quickly tackle a small leak in your gutter before it turns into a bigger headache? Start by identifying leak sources—check for drips during rain or use a hose to simulate flow. You’re not alone; we’ve all faced this pesky issue.
Next, grab some waterproof tape or a quick-drying patch material from your toolkit. Apply it over the leak for a temporary hold. Don’t skip inspecting gutter pitch; confirm water flows toward downspouts, not pooling at weak spots. This quick fix buys time, keeping your home safe while you plan a permanent solution together.
Sealing Cracks and Holes With Proper Products
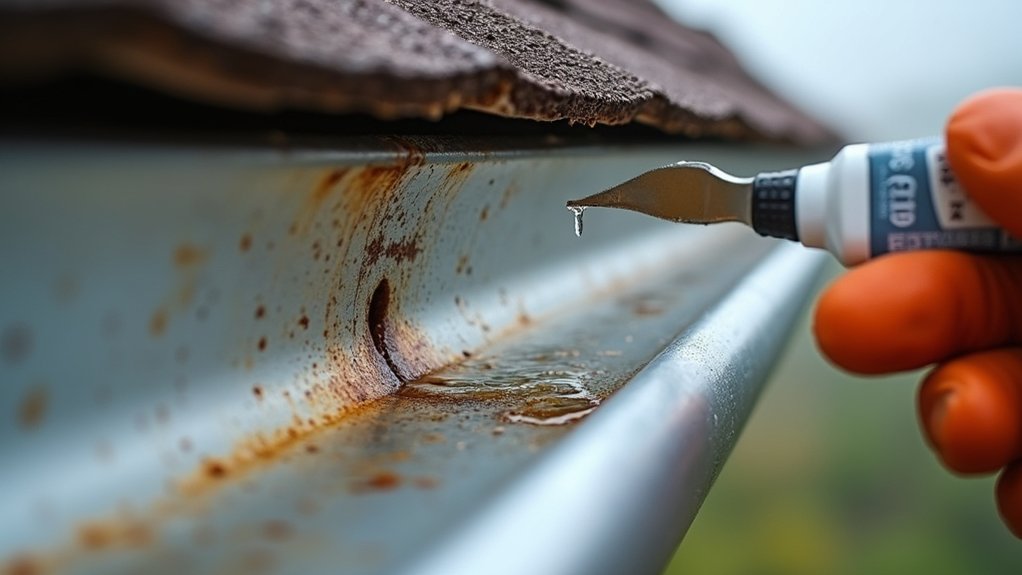
While a temporary fix can hold off damage for a short time, you’ll need to seal cracks and holes in your gutter with the right products for a lasting repair. Grab a gutter-specific silicone or polyurethane sealant—perfect for weather resistance.
Using sealant materials, clean the damaged area thoroughly, removing debris and rust with a wire brush. Apply the sealant with proper application techniques: use a caulk gun for precision, pressing it firmly into cracks. Smooth it out with a gloved finger for a tight bond.
Join our DIY community by expertising these steps for gutter longevity!
Checking for Proper Water Flow After Repairs
After sealing cracks and holes in your gutter, test the repair by verifying water flows correctly through the system. Grab a hose and simulate rain, inspecting water flow patterns to confirm everything’s working. You’re part of a savvy DIY community now, so let’s make sure it’s right by monitoring gutter performance closely.
Check these key points:
- Watch for pooling: Water shouldn’t sit anywhere along the gutter.
- Check downspouts: Guarantee water exits freely without backups.
- Look for overflows: No spills over the edges mean your fix holds.
- Observe drainage: Water must reach the ground smoothly.
Knowing the Signs to Seek Professional Help
Even with your best DIY efforts, some gutter issues can stump you and signal it’s time to call in a pro. If you’re identifying recurring issues like persistent leaks despite multiple patches, don’t ignore them. These often point to deeper structural problems we DIYers might miss.
Also, stay sharp when observing unusual water flow—spilling over edges or pooling near your foundation means something’s off. Trust your gut; you’re part of a community that values safe, functional homes. When fixes don’t hold or damage worsens, reach out. A pro can save you time and prevent costly repairs.
Frequently Asked Questions
How Often Should Gutters Be Inspected for Leaks?
You should inspect your gutters for leaks at least twice a year during seasonal maintenance. Don’t skip this—proper installation depends on it. Join our community of diligent homeowners and keep your home safe!
Can Gutter Leaks Cause Foundation Damage?
Hey, you’ve gotta know that gutter leaks can indeed lead to causes of foundation damage. Water pooling near your home creates consequences of unrepaired leaks, like cracks and erosion. Fix ’em quick, team!
What Types of Gutters Are Most Durable?
When choosing durable gutters, opt for aluminum gutters; they résister rust and last years. Also, consider seamless gutters since they’ve got fewer joints, reducing leaks. Join our community and protect your home wisely!
How Do Weather Conditions Affect Gutter Leaks?
You’ll notice weather conditions impact gutter leaks substantially. Snow accumulation can weigh down gutters, causing cracks. Seasonal temperature changes make materials expand and contract, weakening seams. Join us in tackling these challenges together!
Are There Preventive Coatings for Gutter Protection?
You’re wondering about preventive coatings for gutters? Check out gutter sealant options like silicone or polyurethane for lasting defense. Investigate gutter protection products too—meshguards and covers keep debris out, so you’re always covered with us!